SAGE2 Interface Installation Instructions
Sage is accessible using Chrome browser with SAGE2 Screen Capture extension. To install the extension, go to “seagrant.soest.hawaii.edu/sage” in Chrome. This pages provides links you will need.
If you don’t have Chrome download it here: Download Chrome
Step to Install SAGE2 Screen Capture:
- In Chrome go to seagrant.soest.hawaii.edu/sage
- Click on the link: Sage2 Screen Capture
- SAGE2 Screen Capture window as shown to the left will open.
- Click on the “ADD TO CHROME” link in the upper right corner. (Note: if link reads “ADDED TO CHROME”, then the extension is already installed.
- You now have SAGE2 Screen Capture installed.

Log into SAGE2 Server
- Be sure the meeting moderator has started the SAGE2 on the display wall. Then click on the following link: http://192.168.1.30:9292
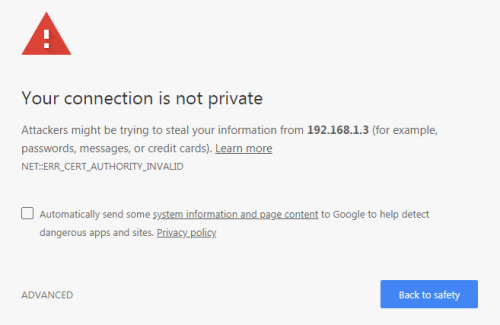
- If the warning window as shown to the left opens select “ADVANCED” and then select “Proceed to 192.168.1.30”.
- Log in window opens. Enter a name and color of your choice and click “Log in as Guest”.
- SAGE2 interface window as shown below will open. From it you may open a pointer, share your screen, etc. which will be displayed on the large screen.


Non-Browser SAGE2 Interface (un-tested)
- Download from SAGE website: Windows SAGE2-interface or Mac SAGE2-interface
- Run the SAGE2 interface installation software
- Enter 192.168.1.30:9292 in the server box. No passcode is required.
- Click connect.

